Public address
Clients open your domain name over HTTPS.
01 · CLIENTSBrowserhttps://cup.votre-domaine.fr
PHOTOGRAPHERFTP gallery importSend images to CUPSee explanation ↓ STUDIO
YOUR CUP JOURNEY
After installing CUP at home, check that it can be reached over the Internet. Then explore two ways to use it.
SELF-HOSTED · NAS, PC OR MAC
This is the typical route when CUP runs at home with Docker: the domain name points to your Internet gateway, then port forwarding sends the connection to the computer hosting CUP.
Clients open your domain name over HTTPS.
Updates DNS if the gateway’s public IP changes. Click to see the NAS setting.
See explanation ↓Example: 192.168.0.1. Click to understand port forwarding.
See explanation ↓The gateway forwards to the router WAN: 192.168.0.2. The router then forwards TCP 443 to the NAS: 192.168.1.25.
NAS example: 192.168.1.25. Click to see how to reserve it.
See explanation ↓DIAGRAM DETAILS
In Web Cloud → DNS zones, create or edit the CUP subdomain record as a CNAME. In Target, enter the Synology hostname configured on the NAS in step 05. The CNAME links these two names; it is not a webpage redirect. Values remain hidden in the screenshot.
The CNAME target must be the DDNS hostname configured on the NAS. Return to that setup: see 05 · Docker host / NAS ↑
192.168.0.1 is the gateway’s local address in this example. Create a rule with external port 443, internal port 443 and protocol TCP. If there is a separate router, set its WAN address (192.168.0.2) as the target; a second rule on the router forwards external 443 to internal 443 over TCP to the NAS (192.168.1.25). Without a separate router, target the NAS’s local IP directly. If certificate validation requires it, add a TCP 80 → 80 rule to the same target on each device along the path.
The router has two addresses in this example: WAN 192.168.0.2 facing the gateway, and LAN 192.168.1.1 facing the NAS. The gateway forwards incoming connections to the router WAN. On the router, enter external port 443, internal port 443, protocol TCP, and target 192.168.1.25 (the NAS). If certificate validation requires it, also add external port 80, internal port 80, protocol TCP, targeting the NAS. Reserve this address for the NAS in the router’s DHCP settings so it does not change. If there is no separate router, skip this step.
These outgoing connections do not require inbound router forwarding. On heavily filtered mobile networks, Apple may also use TCP 5223 (fallback to 443) and Google/FCM TCP 5228–5230: these are phone connections, never ports to forward to CUP.
FTP / SFTP: separate serviceIn a PC/Mac setup, forward the ports to the computer running the transfer service. FTP/FTPS uses TCP 21 and the passive TCP range configured in the server software; with a gateway and separate router, forward these ports through each NAT layer. SFTP uses TCP 22. No Internet port forwarding is needed for transfers within the local network. These ports are not used to browse CUP. Plain FTP is unencrypted; prefer FTPS if the photographer’s software supports it. The Synology screenshot in the NAS path shows one passive range example: 55536–55899.
Docker Desktop uses the same principle on Mac and PC: the network port chosen on the computer maps to container port 80. The screenshot shows 18080:80. Use the network port actually configured when setting up the reverse proxy, and make sure the selected host is reachable on the local network. Do not forward this port directly from the Internet.
If Docker runs on a Synology NAS, open DSM 7: Control Panel → External Access → DDNS. Enable the Synology provider, choose a hostname, leave IPv4 on Auto, and check for “Normal” status. DDNS updates the address when the public IP changes. Account and hostname values remain hidden.
Also reserve a fixed local IP for the Docker host (192.168.1.25 in the example) in the router. If the NAS is the proxy, it forwards requests to CUP’s local port (18080). Do not make that port directly reachable from the Internet.
DSM firewall · optional
If the DSM firewall is enabled, allow only TCP 443 to the NAS and, if needed for the certificate, TCP 80. Do not choose “All ports” or expose 18080 to the Internet. Keep a rule allowing your local network to administer DSM.
The certificate option in this window applies to the Synology hostname. CUP’s certificate for your custom subdomain is configured separately, in the HTTPS setup. The related CNAME is configured in 02 · Domain name.
CUP watches a local folder made accessible to the container. In a PC/Mac setup, the photographer uses a transfer application and an FTP/FTPS or SFTP service installed on the computer to place images in that folder; CUP then adds them to galleries. This transfer is separate from viewing: clients open galleries over HTTPS in their browser.
Keep these setups separate: a path shown as /www/CUP/FTP/... belongs to a web-hosted installation. With Docker Desktop, CUP’s data is in a Docker volume (in this PC example: CUP-Data, mounted in the container at /srv/cup). Windows OpenSSH cannot access that volume directly. To use gallery imports with Docker, the transfer service must be connected to the volume or to a Windows folder explicitly mounted into CUP; the hosting path alone is not enough.
On PC/Mac, install and configure an FTP/FTPS or SFTP service to place files in the folder exposed to the container. CUP does not run this service itself. See 04 · Router for port details. The DSM screenshot below is a separate example for a Synology NAS. For the Mac walkthrough: see the Mac walkthrough · SFTP ↓
EXAMPLE · SYNOLOGY DSM 7
Example using the subdomain cup.your-domain.com. Replace it with your own address. The NAS terminates the HTTPS connection, then forwards the request to CUP on local port 18080.
In Control Panel → Security → Certificate → Add, choose Add a new certificate, then Get a certificate from Let's Encrypt. Enter cup.your-domain.com and an email address. Leave Subject Alternative Name blank unless you are adding more domains.
In Control Panel → Login Portal → Advanced → Reverse Proxy → Create, set the source to HTTPS, hostname cup.your-domain.com, port 443. Set the destination to HTTP and enter the address and port where CUP is reachable from the NAS. The general example on this page uses local port 18080.
In Security → Certificate → Settings, assign the cup.your-domain.com certificate to the matching reverse proxy service. Save, then test https://cup.your-domain.com from outside your home network.
Do not expose CUP’s container port to the Internet: only the NAS HTTPS proxy should receive client connections. If Let's Encrypt cannot validate the domain, check DNS, public IP, port 80 forwarding, and CGNAT.
Official Synology guide · Let's Encrypt certificate ↗EXAMPLE · MAC WITH DOCKER DESKTOP
The Mac drop folder and CUP’s internal Docker storage are separate. In this example, the chosen drop folder is Data2 → CUP-Data; you can choose a different location.
macOS File Sharing does not enable FTP. Start by testing on your local network; no gateway port forwarding is needed for that. Do not expose plain FTP to the Internet.
FTP/FTPS walkthrough with the FTP Server app
Open FTP Server in the Mac App Store · €7.99 ↗Install FTP Server from the Mac App Store, then open it from Applications. It is a server: other devices connect to it to upload files. FileZilla and Cyberduck are clients; use one on another device to test the connection.
In FTP Server settings, choose the root folder the photographer can access; example: Data2 → CUP-Data. Create a dedicated username and password for this service, limit its access to that folder, and disable anonymous access. The app also has a default FTPShare folder; check the displayed root before testing.
In the app’s network preferences, use FTP port 21 if available and set a small fixed passive range, for example 50000–50010, if the app offers that setting. For a local test, enable FTP and connect a client to the Mac using the configured port and passive mode. To protect the password and files, enable FTP over SSL/TLS (FTPS) in the preferences and select FTPS in the client. Restart the server after changing settings.
On the same Wi-Fi or Ethernet network, open an FTP client on another device. Enter the Mac’s local IP address, the port shown in FTP Server, the account you created and passive mode. Start with FTP on the local network; then test FTPS if you enabled TLS. Upload a test image and check that it appears in the chosen folder.
For FTPS access over the Internet, forward the configured control port and the entire passive range to the Mac, then check the Mac firewall and TLS certificate. Do not forward these ports until local uploads work. Plain FTP is not encrypted.
Receiving a file in FTP Server does not automatically make it visible to CUP: you must also mount the same Mac folder into the CUP container, then configure gallery import to watch that path. The installer’s cup_data Docker volume is separate; do not replace it.
Built-in macOS option: SFTP
Create or choose the folder where the photographer will upload images. Example used here: in Finder, the folder is on the Data2 disk, inside CUP-Data. Keep this location handy. CUP’s Mac launcher also uses its own Docker volume, cup_data; the Finder folder is not automatically connected to the container.
Open System Settings → General → Sharing and turn on Remote Login. Under Allow access for, keep only the account that will receive uploads; if Administrators is also listed, select it and click –. Leave the option granting access to the entire disk turned off. SFTP uses TCP port 22; the separate File Sharing switch shown in this window does not enable SFTP.
In Finder, select CUP-Data and press ⌘I. Open Sharing & Permissions. The SFTP account must have Read & Write access. In this example, the SFTP account owns the folder and has those permissions; staff and everyone remain read-only. The Shared Folder checkbox is not needed for SFTP.
On Mac, the installer stores CUP data in a Docker volume named cup_data. Moving Docker’s disk image to Data2 can move Docker’s storage, but it does not connect the volume to the Finder folder Data2/CUP-Data. Do not replace the cup_data volume. Before setting up photo imports, check the container’s actual mounts in Docker Desktop and confirm that the drop folder is accessible. For SFTP transfers over the Internet, forward TCP port 22 to the Mac; transfers on the local network need no Internet forwarding.
Separate administration path: SFTP
SFTP is for administration file transfers, for example installing CUP on web hosting. FTP gallery imports follow the photographer’s path. Clients open CUP over HTTPS.
The server’s local IP should stay fixed. If the gateway and router are separate devices, you may need a forwarding rule on each. Dynamic DNS cannot bypass CGNAT: ask your provider for a public IPv4 address or choose another access solution.
For web hosting, skip this step: your hosting provider manages server access. Expose only the proxy’s HTTPS entry and never publish the CUP container port directly to the Internet.
STEP 03 · GET TO KNOW CUP
CUP brings client projects and photography galleries together. Start with these settings, then see which workflow fits your work.
Add your display name, surname, a profile photo and the professional contact details clients can use to reach you: email, phone and WhatsApp. Your login ID is only for signing in; do not share it with clients.
In CUP Customization, choose your accent colour, display name and tagline. Add your admin and client logos, then customize their home images. You can also set the portrait and welcome text on the page where new clients fill in their profile and preferences. Finally, customize the light and dark favicons for CUP Admin and Client. Use the preview to check everything before saving.
Under Preferences → SMTP Configuration, enter the values supplied by your email provider: server, port, full sending mailbox address, alert recipient and SMTP password. The screenshot shows an OVH example (ssl0.ovh.net, port 465); your provider’s settings may differ. Before testing, complete the sent email signature: display name, role or business, phone, email, website and custom text. Add a logo if you wish, then check the light and dark previews. Select “Save and send a test”, then check the message, including in spam, before inviting a client.
At any time, open the CUP Licence section to see whether your installation is on CUP Light or CUP Pro and check its activation. The Manage my subscription button opens the Stripe portal; sign in with the email address used for purchase. Stripe manages the subscription; manual CUP licences cannot be changed in this portal.
Choose which email alerts you want: retouch requests, comments, approvals, delivery downloads or shared files. With CUP Pro, you can also enable notifications on this device; allow them in your browser if prompted. The OVH CRON task is for push notifications on web hosting; it is not configured for CUP running in Docker on a NAS, PC or Mac. Then customize footer links shown in the Client and Admin spaces and choose which file formats are allowed in the shared space.
In the calendar’s billing information, enter your rates for an 8-hour day, a 4-hour half-day and a 2-hour short session, then set the weekend surcharge percentage. Add a link to your invoicing website or tool for quick access. Under each project, the +2 h, +4 h and +8 h buttons add time at your rates; the € button lets you enter a flat amount for the project. CUP then totals the work recorded for each project and client to give you an estimate and help prepare your invoices.
Tip · Add a custom activity
In an empty area of the calendar, click and drag to create an indicative time slot. Enter the start and end times, name the activity (for example, “Retouching”) and add a short note if useful. This is handy for recording work that does not have its own button in CUP.
The report is based on events actually recorded in CUP. It shows their timeline, total production time, calculated services and event count for the project or client. This gives you a detailed summary of the work entered in CUP, useful for reviewing activity and preparing your invoice.
STEP 04 · FIRST CLIENT
Choose one of the two ways to get started: a shared client project or a photography gallery to present to them.
CUP Light and Pro include client management and photo galleries. CUP Pro adds project briefs and production pipelines, client image selection and invoicing assistance.
CHOOSE YOUR WORKFLOW
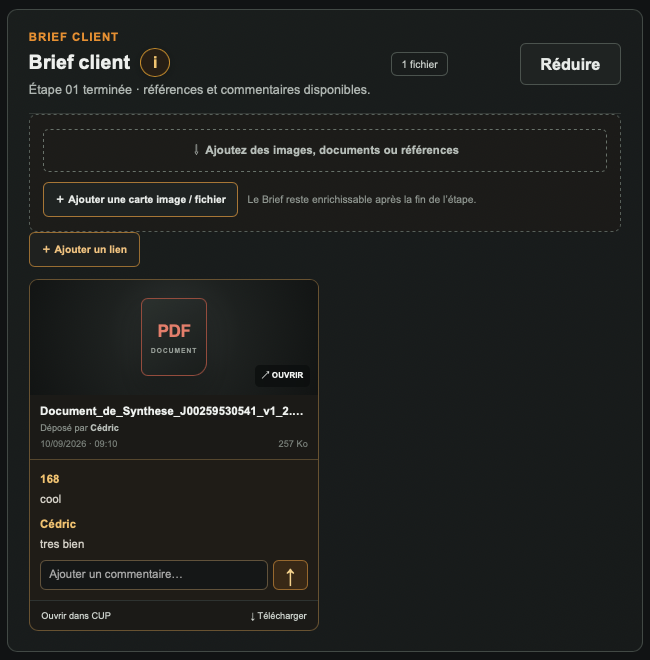
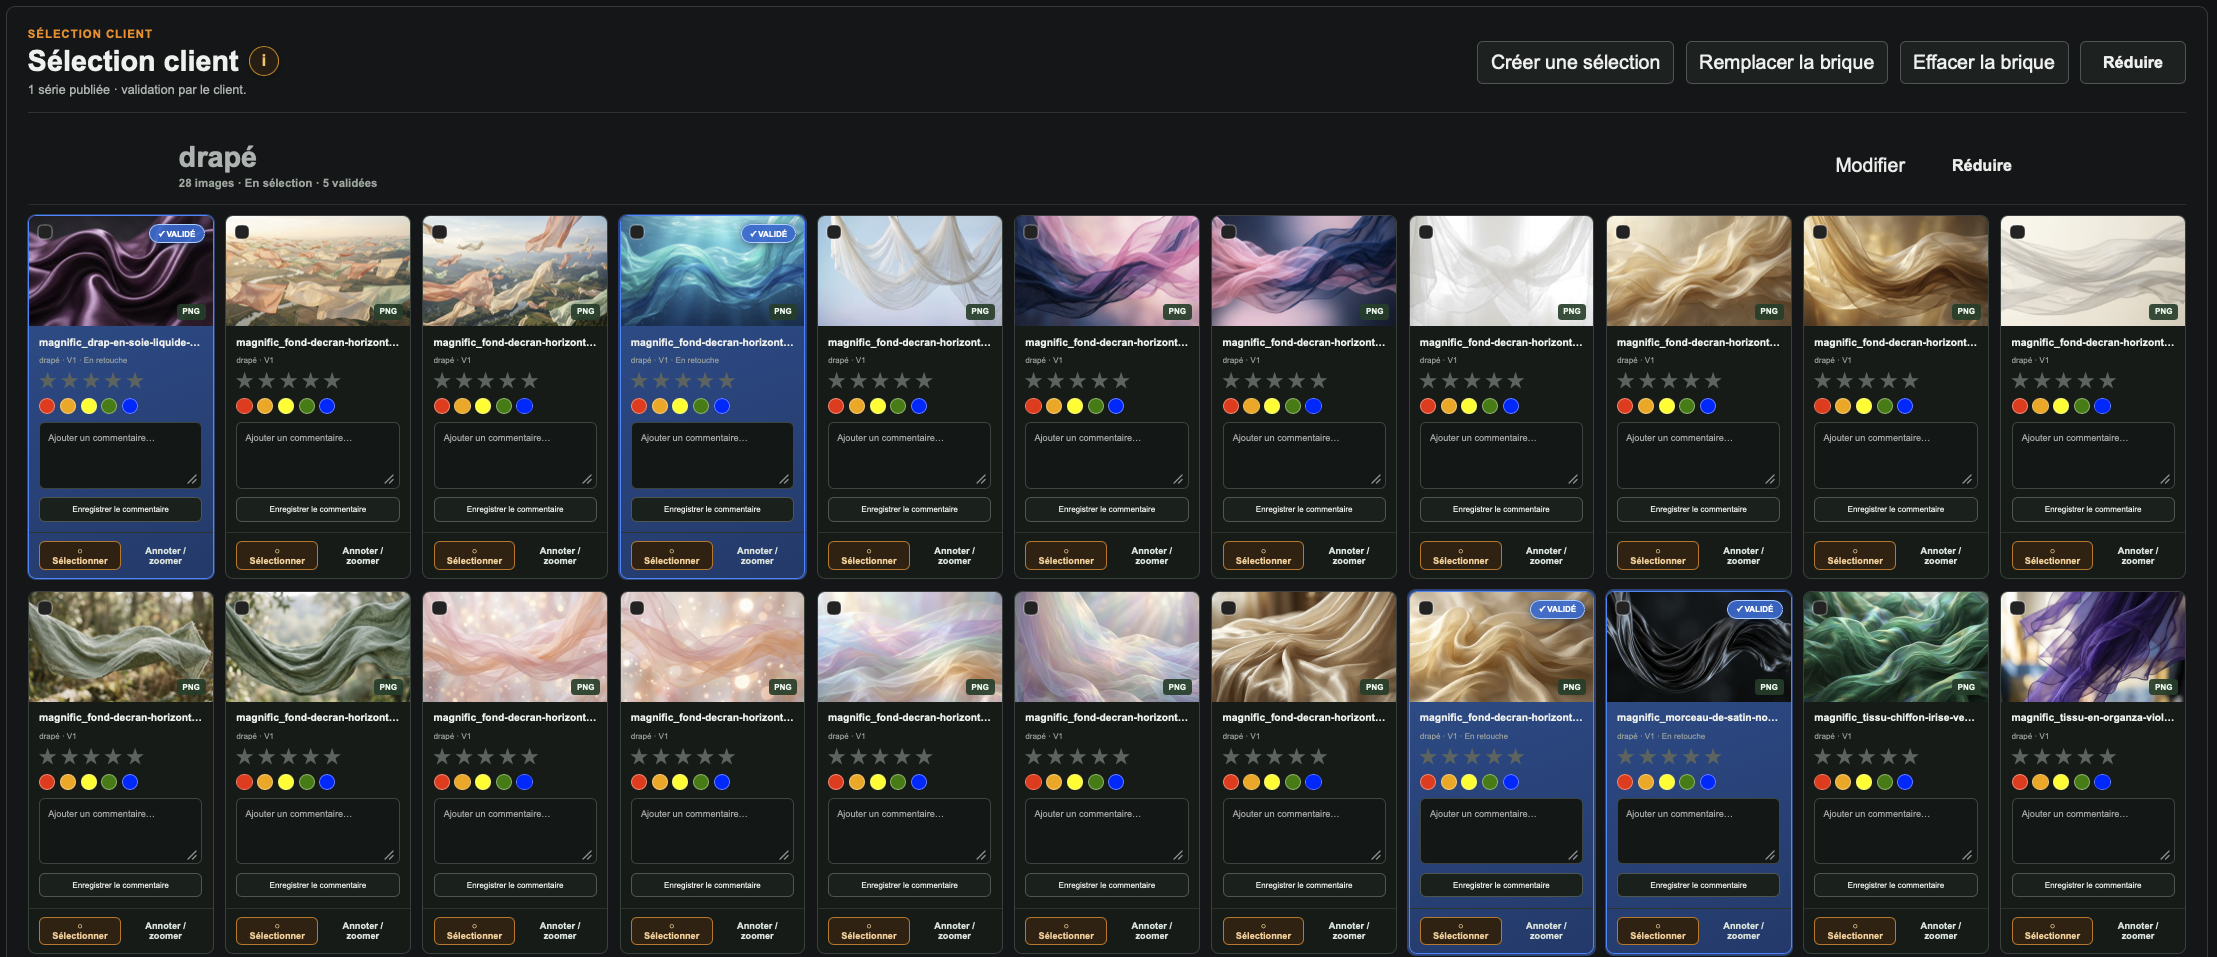
CLIENT PROJECT · PRODUCTION
CUP ProA shared space to submit images, discuss the project and follow feedback or requested revisions.
View the Production walkthrough ↓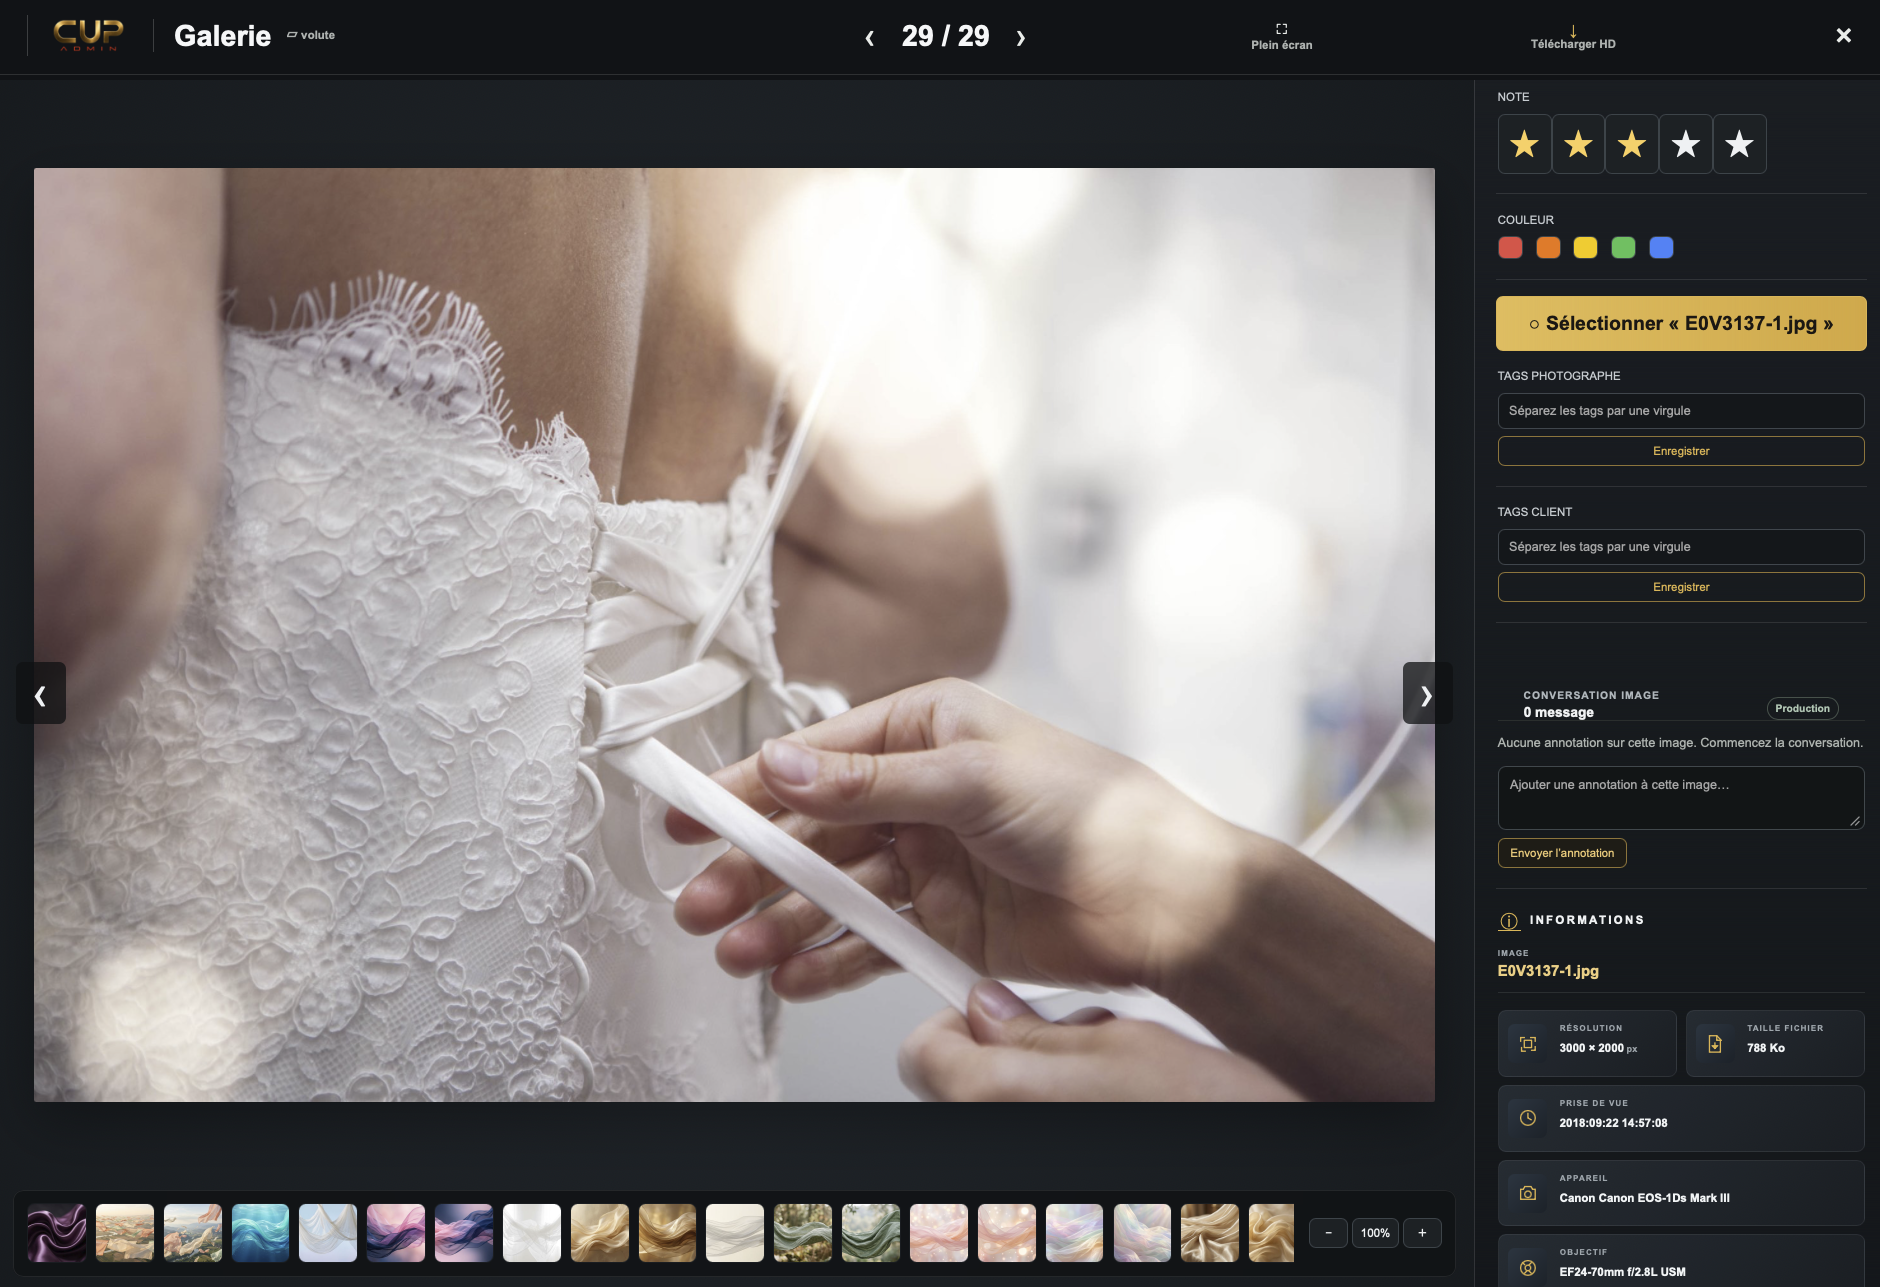
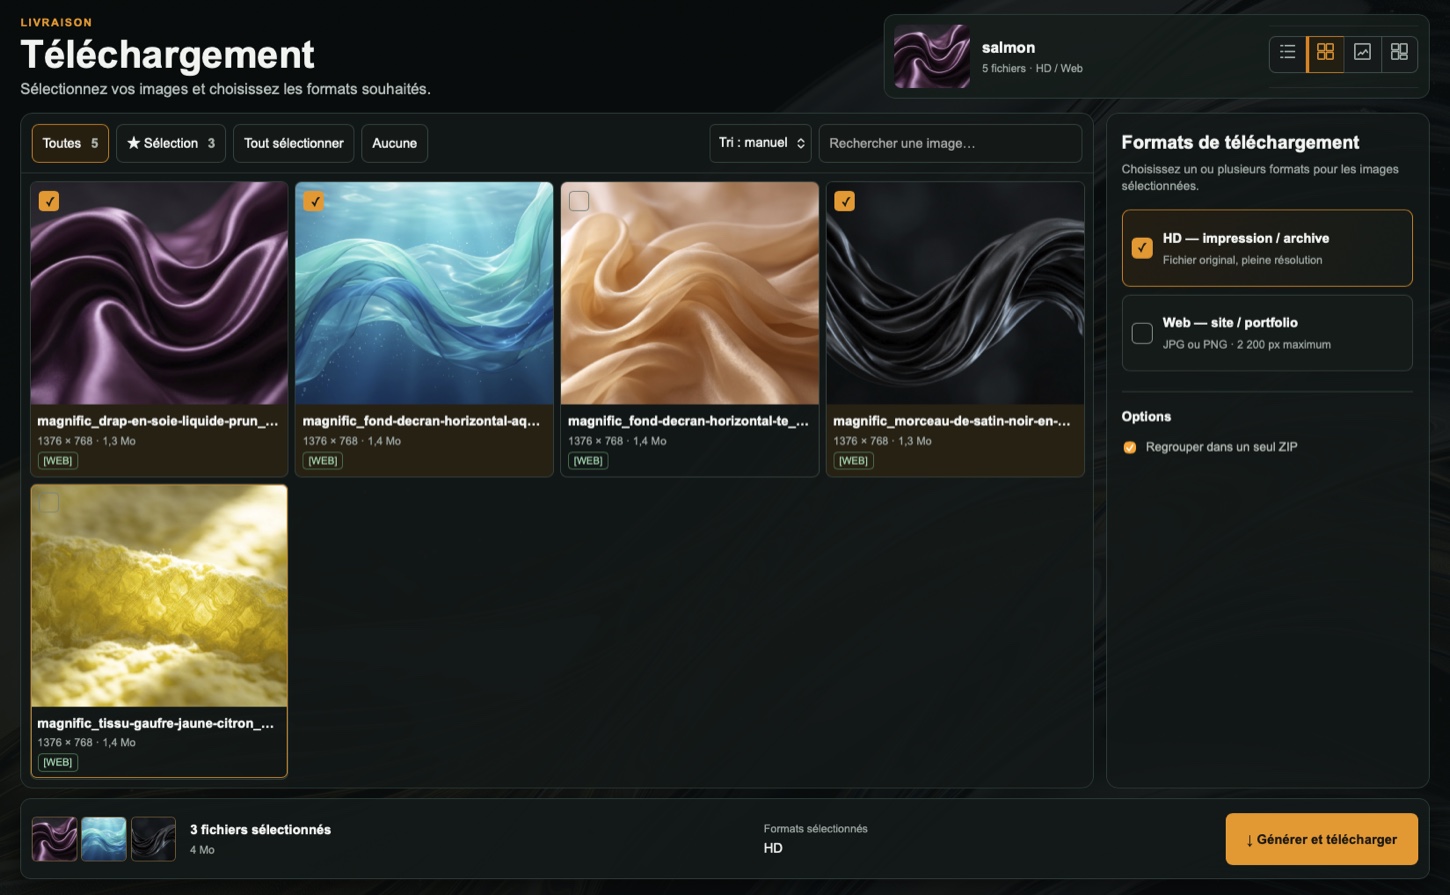
PHOTOGRAPHER GALLERY · WEDDING
CUP Light + ProThe couple can view the gallery with CUP Light or Pro. Client image selection is a CUP Pro feature.
View the Wedding walkthrough ↓